Making fresh homemade butter at home is SUPER simple. All you need is heavy cream, a jar, and some elbow grease. Here’s how to do it.
This is a great thing to do, not only to have healthier and better-tasting butter for cooking or spreading, kids LOVE to do this. It’s a great little homesteader-type of project.
What do you need to turn cream into butter?
This little DIY project is probably the simplest one I’ve come across. I do it whenever I’m making a special meal or I’m babysitting someone’s kids. My son’s a bit too old for it now (he’s on his second tour in Afghanistan right now).
Here’s all you need:
- Canning jar – (these blue Heritage Collection pint jars
are pretty awesome looking by the way. I’m ordering a few sets).
- Heavy cream
- Someone to shake the jar
- Cold water to rinse the butter
- Small marble (optional)
Canning or other jar
So the first step is to find yourself a jar. Canning jars are great but any jar that fits easily in your hand and has a lid that seals would work.
You’ll want to find a jar that holds twice the amount of cream that you’ll be shaking. If you’re just making a small amount, you can use a large baby food jar.
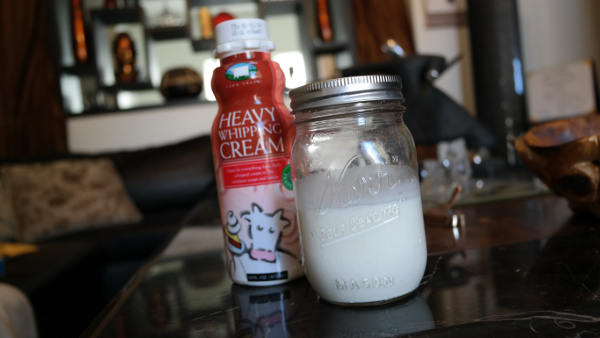
Heavy cream
You need to find a cream that has a high fat content. The higher the fat content, the easier it’ll be to make butter with.
According to TheKitchn, different creams have these fat percentages on average:
Half-and-Half: 12% fat
Light Cream: 20% fat
Light Whipping Cream: 30% fat
Whipping Cream: 35% fat
Heavy Cream and Heavy Whipping Cream: 38% fat
I personally like to use heavy whipping cream because it only takes about 5 minutes of shaking to get butter and about 2 minutes to get whipped cream (which is pretty awesome too).
Someone to shake the jar
As I said, this is a great project for kids. Now you can also just use a wire whisk or a mixer to do the same thing but that’s not as much fun.
Cold water to rinse the butter
As you’ll see, you’ll need a little water to rinse the butter when it’s ready. Cold water keeps it firm.
What are the steps and stages of the butter-making process?
The first thing you do is just fill the jar about half-way with cream. If you don’t put enough in, as it starts going through the stages, it’s harder to get it to go into the final stage. If you fill it too much, there isn’t enough space for the cream to move in the jar to slam from end to end.
Then you just close the light tightly and start shaking. You’ll want to shake it from lid to bottom and not side to side or rocking it like a rattle. You want the cream to start on one end and get slammed into the other end, over and over again. This isn’t necessary, but quicker. You could just keep flipping it over and over from what I hear but it’ll take a lot longer. If you add a marble to the cream, it’ll go faster. Just be careful that you don’t break the glass if you’re using a larger jar.
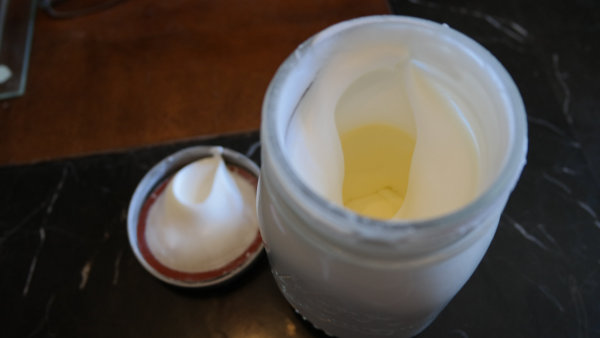
After about two minutes or so of shaking, you’ll hear the sloshing get pretty quiet and almost silent. Congratulations, you just made whipped cream. The fat molecules have now combined and filled with air.
In fact, you could just add a tablespoon of sugar and a half teaspoon of vanilla per cup of heavy cream and you’ll have some dandy whipped cream to add on top of a chocolate pie or something.
At this stage, the peaks will stand on their own. This is what it looks like in the jar:
If you’re not making whipped cream, keep shaking. About 3-5 minutes or so later, you’ll start hearing it thump and slosh in the jar. Once you hear it change, give it another 30 seconds to a minute of shaking to get it to set. What you’ve now done is broken the tiny air bubbles and gotten the tiny bits of fat to start clumping together.
You’ve now separated the milk fat from the buttermilk. I absolutely hate store-bought buttermilk but the stuff that comes out of this is pretty good. It tastes a bit like the milk we used to get right from the cows at my grandfather’s farm years ago.
When you open the jar, you should see a yellowish clump of butter and some thin liquid. You can just discard the buttermilk if you’d like but I wouldn’t:
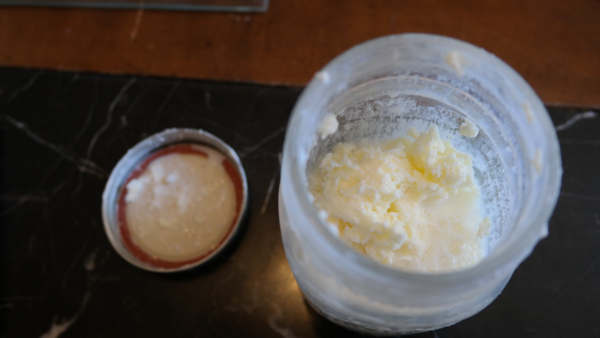
Butter and buttermilk
Once you’ve poured out the buttermilk, put the butter into a large bowl. I use a metal bowl that I’ve cooled off in the fridge for a while. The whole secret to making this easy is to keep everything cool, otherwise the butterfat starts to melt and it’s harder to work with.
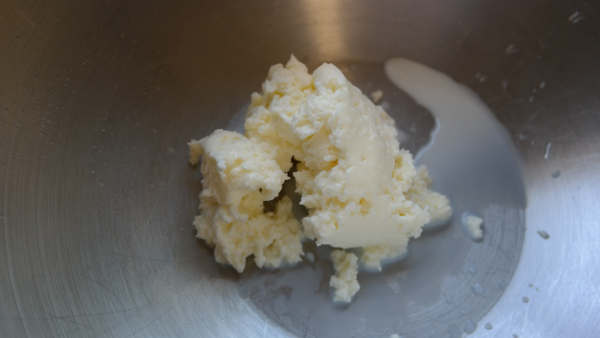
Butterfat ready for rinsing
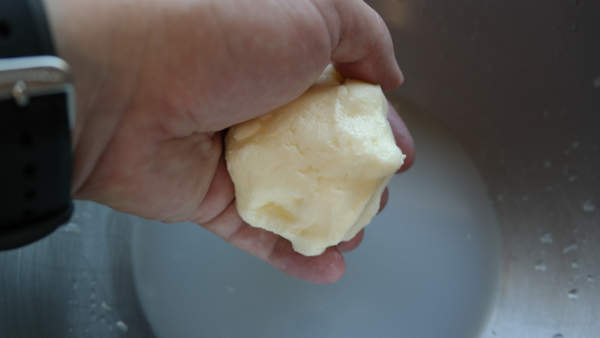
Now you just put in a cup or so of cold water in the bowl and kneed the butter, kind of like bread dough but more gently. Pour out the water and put in some more. Keep doing this until the water stays clear. If your butter starts to melt, just put the whole thing in the freezer for a few minutes to cool it back down. What you’re trying to do is rinse out all the buttermilk so you’re left with pure butter. Your butter will keep from spoiling quicker if you take out the buttermilk because fat doesn’t have much room for oxygen to get in.
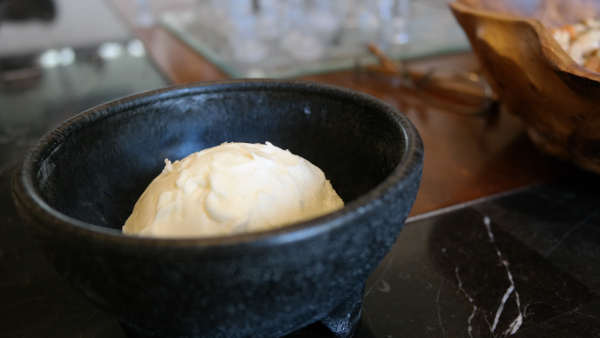
Once you’ve pressed all the water out, just put it in a bowl and sit it in the fridge. You may find that the first time you put it away that you have a little liquid come out that you missed but that’s not really a problem.
What you have now is called sweet butter. It’s perfect for cooking because it’s unsalted (so your food doesn’t come out too salty). You can also add salt to make it something great for spreading on toast. Even better, you could add things like honey, herbs, garlic, or whatever your imagination comes up with to make a great new spread. I like to use butter on my pork chops or steak after they’re grilled as a board sauce in my Man Cave Zen dry rub steak recipe.
Here’s a quick video if you’d rather watch someone make butter than just read about it:
https://www.youtube.com/watch?v=FAkkrO7-1wo
If you want to make even more things at home, you need to pick up a copy of Homemade Living: Home Dairy with Ashley English: All You Need to Know to Make Cheese, Yogurt, Butter & More.
References used in this article:
Butter from cream, Wikipedia, Frugalliving TheKitchn







Nice, I’m going to get some and try this, it’s something cool to know.
This was my job as a kid growing up on various dairy farms only it was a big glass gallon jar. I’d roll it on my legs while I watched TV 😉 I taught my daughter to do it in a quart Mason jar and it was so much fun for us to do.
this was so much fun! and it tasted good too